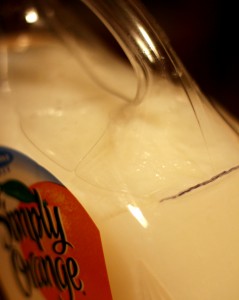
Homemade Laundry Soap
Skin Sensitivities ~ Eczema ~ Chemicals ~ Toxins ~ Carcinogens ~ Cost ~ Cloth Diapers
The above are just a few of the reasons I chose to make laundry soap for my family, rather than purchasing laundry detergent from the store. I have been making laundry soap for my family of seven for the last 3.5 years and I honestly cannot imagine how we used such awful products for so many years!
I have sensitive skin myself… Having a growing family I am always concerned about what I am exposing my babies too, and being mindful about properly caring for their very sensitive and new skin. Preventing skin allergens or eczema outbreaks was important to me.
Traditional detergents contains a rather scary “laundry list” of nasty ingredients. Many of which are toxic or carcinogenic to our bodies. They may smell “pretty,” but that smell comes from synthetic, artificial fragrances. I wanted to naturally scent my soap using my essential oils!
For a family of seven, we spent a GREAT deal of money (monthly / yearly) on detergent. Like most families, anyplace we could pinch pennies was something we were interested in pursuing. Cutting out this expense, almost completely, has been an amazing blessing to our family!
We also cloth diaper. So prior to making my own laundry soap, we were purchasing a detergent for our clothing AND a detergent for cloth diapers. Making my own soap, means this is no longer necessary. The chemicals found in almost all store bought detergents are not safe to use on cloth diapers. It can actually damage them, permanently!
My Tried & True Recipe
(This recipe makes enough soap to last 2.5 – 3 months for my family of seven)
This is safe for HE machines, I have used it in mine for the past 3 years.
It is also important to note, that with all natural soaps, there are no suds during the washing process!
Step 1) Ingredients you will need:
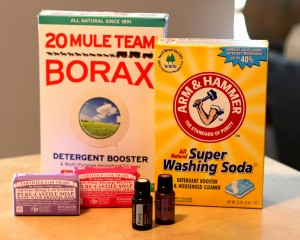
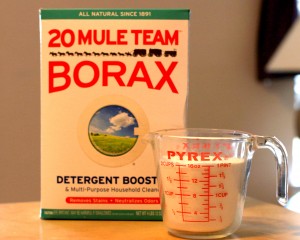
1 Cup – 20 Mule Team Borax (detergent booster)
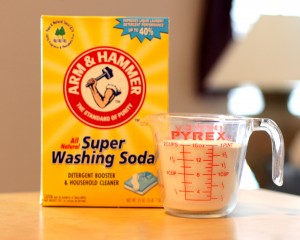
1 Cup – Super Washing Soda (not baking soda)
2 Bars – Dr. Bonner’s Castille Bar Soap (any scent you would like… Lavender, Citrus Orange, baby un-scented).
You can also use Fels-Naptha ( This is a stronger soap base and is great on work clothes, but can be a bit harsh on baby skin.
Essential Oils for Cleansing, Purifying, and Scenting (Some of my favs – Orange, Lavender, Purify, OnGuard, and my husband likes Sandalwood)
Step 2) Kitchen Tools you will need:
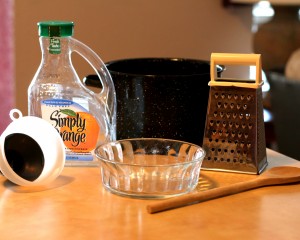
Large Cooking Pot (non-Teflon)
A Long Handled Wooden Spoon & a Ladle (not pictured)
A Large Funnel
A Box Grater
A Glass Bowl
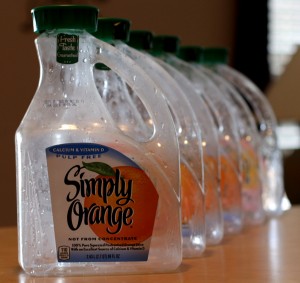
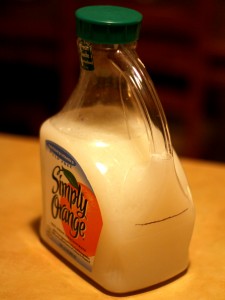
6 Containers (to store & use your soap) ( I use old orange juice containers)
You want about six containers for this recipe.
My laundry soap yields about 530 fl. oz.
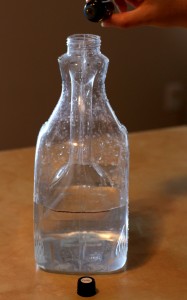
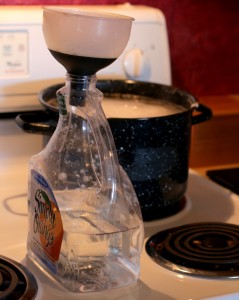
Step 3) Mark containers and pre-fill with water:
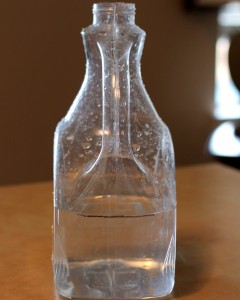
To make the process quicker for me, I mark all of my containers with the starting amount of water.
This is about 45 – 50 fl. oz.
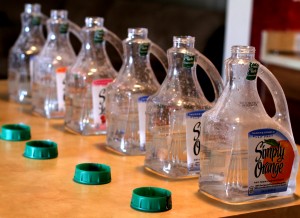
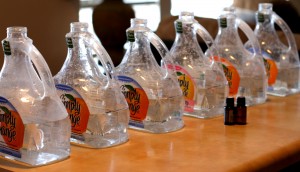
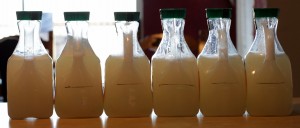
Here I have all 6 bottles.
Each filled with about 45 – 50 fl. oz.
Step 4) Personal Touch:
I then add the scent I’d like for this batch.
I tend to change it often, depending on season. On Guard during the Holidays, floral in the spring, etc.
We can do different scents in each bottle, to customize them to specific family members.
My husband loves sandalwood, I love lavender, and really like serenity for my children.
Essential Oils have been added to each bottle
Step 5) Grate Soap:
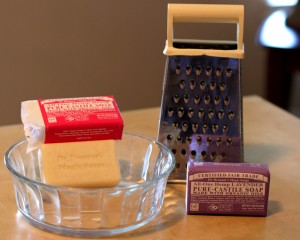
Fill your large stock pot with about 90 fl. oz. of water.
Put on the burner over med-high heat.
While the water is warming, grate your soap, just as if it were a block of cheese. =)
This quickens the melting process of the soap.
Step 6) Melt Soap:
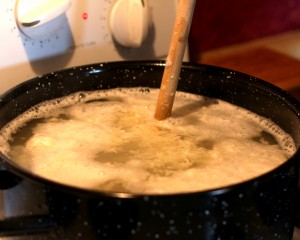
Add grated soap to the pot.
Stir frequently as it melts.
Do not allow your pot to come to a full boil.
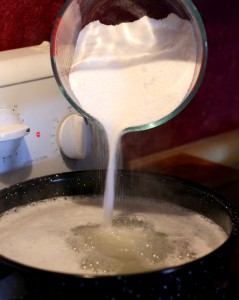
Step 7) Super Washing Soda:
Measure out 2 cups of Super Washing Soda.
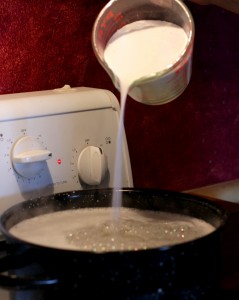
Add to the melted soap water.
Stir it in so the soda powder is not sitting on the bottom of the pot.
Step 8) Borax:
Measure out 2 cups of Borax.
Add Borax to water, soap and soda mixture.
Again, stirring to mix well.
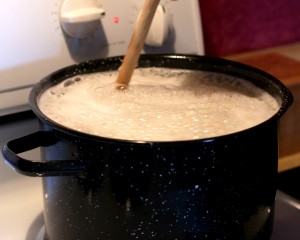
Step 9) Thicken:
Water will become very sudsy.
Stay nearby, stirring often, and controlling the temperature.
You want your pot to come just close to a boil, without actually coming to a boil.
Should it get to hot, or sit too long without being stirred, the mixture will rise right up out of your pot, and all over your stove!
This can happen VERY quickly! Let’s not ask me how I know this… 😉
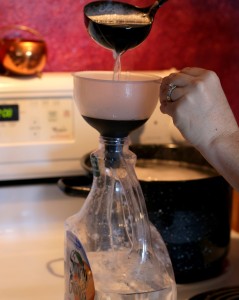
Step 10) Transfer:
Once the laundry soap mixture has began to thicken up ( usually about 10 minutes) ( think brown gravy consistency), you can remove pot from heat.
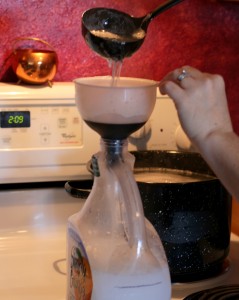
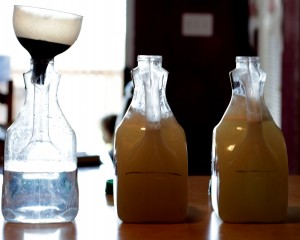
Ladle soap mixture into pre-filled containers.
Ensure the funnel is aimed into the water, and not onto the sides of your container
The cool water in the container helps to off-set the temperature from hot mixture, and will cause it to thicken more (think, making pudding).
When filling your containers with soap, you want to leave enough empty space in each, to allow room for coagulation to occur.
Step 11) Cool:
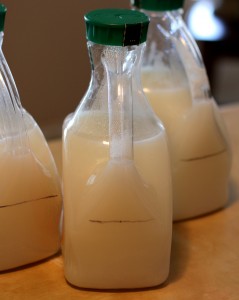
Allow containers to sit for about 30 minutes with the caps off, to cool, before covering and storing for the night.
Step 12) Store Overnight:
As the mixture sits overnight, it will become very very thick!
In the morning, soap containers will have coagulated.
Step 13) Shake & Prep for Use:
You can shake the soap ( or stir with the handle of a wooden spoon).
Then top off the container with cool tap water, and shake again.
I tend to shake the container before each use.
I use 1/2 – 3/4 cup per load, depending on what I am washing.
